Looking for the Doll Giveaway? Please see here to enter!
If you have the opportunity to make this doll, you should really try it. I can’t tell you enough how awesome it is making a doll. Even if you aren’t crafty – give it a whirl- it’s a fun thing to do. Now I have to give props to Constance for scanning this for me on her computer and to my rad sister for telling me how to do it… sort of. Also – to Google – thanks Google! It was the pdf attaching thing that gave me some troubles. The pattern below should just print on to a regular 8.5″ x 11″ piece of paper.
So here it is – finally – the Sleepy Dolly Tutorial. This is a great first doll to make, and is a great gift for little ones. I’m making a bunch of these for Benjamin’s kindercottage class right now. Twenty three of them. Yes. Twenty three. I’m using recycled wool sweaters and stuffing them with some local wool that the kids and I cleaned the other day.
Anyhow, for this project you’ll need-
-old wool or natural fibre sweater – washed in hot water and dried a couple of times
-some jersey knit for the head – an old tshirt works well – in some sort of ‘skin’ colour (you can throw a white tshirt in a bowl with some tea in it to stain the shirt a light brown-y colour – leave it in there for a few minutes).
-wool for stuffing
-embroidery floss – you’ll need eyes and mouth colour and a contrasting skein of floss to go with your sweater
-thick string – like thick crochet cotton
– thread for stitching on the hat and body
-a long and a short needle – I think you can find the long needles at craft stores- they are called ‘Doll Making Needles’
– These patterns sleepydolly1 and sleepydolly2
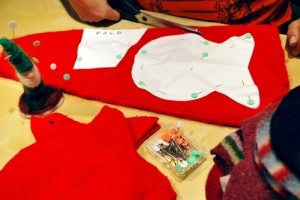
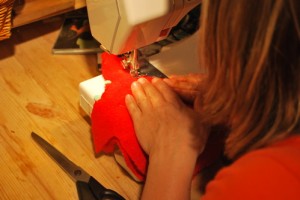
Lay out your pattern on the sweater as shown. Making sure the top edge of the hat is along a fold. Right sides of the sweater should be together. Pin and cut. Stitch where marked, making sure you leave an opening at the neck of the body and at the frount of the hat.
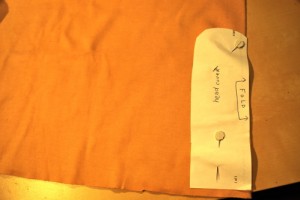
Sew your headcover as marked on the pattern. Turn right side out.
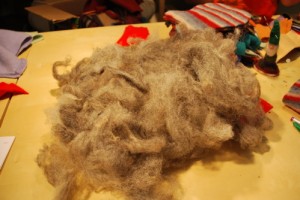
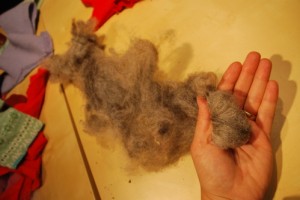
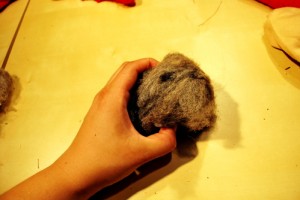
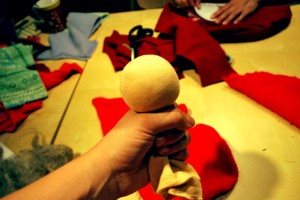
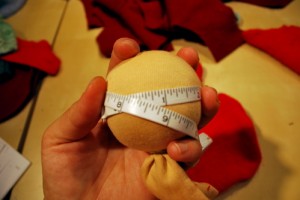
Making the head. Don’t be scared – it’s way easier then you think! If you have clean wool that is fluffy and all smooth – then you will cut a strip that is about 15″ long and 3″ wide. I’ve measured about that much with my ‘raw’ wool here’. Then what you want to do is to roll it in your palm using your other hand – you want to roll it until you get it to the size of a small orange. Roll it as tightly as you can! See – there you go – no problem! . Now, holding the ‘ball’ in one hand you are going to push the ball into the headcover, like you would with a sock. Stuff it in there very tightly! I like to aim for about an 8″ diameter head. Around there – don’t stress about it.
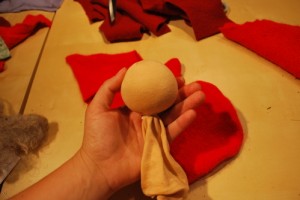
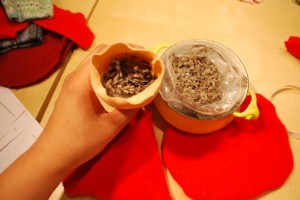
Now holding the ‘neck’ with one hand – try to tie a tight knot. It helps to have someone do this for you. It also helps if you just do one ‘knot’ above your hand and then slide it down to the neck position – this lessen’s ‘Ghost Neck’. I then add some wool to the neck/body tube part that is sticking out, I also throw in some lavender. We then stitch it closed on the machine at the bottom. Trim excess.
Phew – that was the hardest part!

Now we will embroider the face on. The back seam can be either at the back or along the sides of the ‘face’. Try to find the roundest part of your head ball for the face. Mark the eyes and mouth on the doll using a fabric marker, or pushpins. I like the eyes to be just above the ‘equator’ of the doll and the mouth marked below. The ‘rule of thumb’ is to mark the eyes and mouth in a triangle.
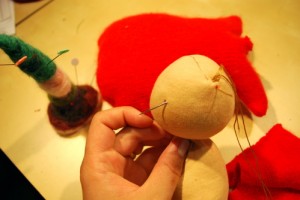
Anchor a stitch (lots of stitches on top of one another) at the back of the head with your long needle. Take a stitch through the back of the head and out to about 1/8th of an inch to one side of your eye ‘dot’ and then to about 1/8th of an inch to the other side of the dot. I like to slightly angle the stitch up.

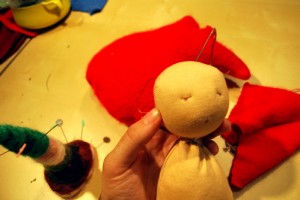
Then take your needle through the head (just under where it’s forehead would be) and take a stitch again about 1/8th of an inch on one side of the dot through to 1/8th of an inch on the other side of the dot. That sounds harder then it actually is. The pictures may be easier to understand! You then finish your stitch at the back of the head and then anchor the stitch again . Cut thread
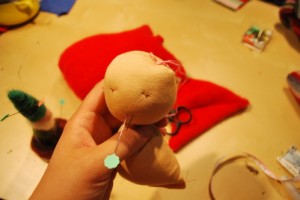
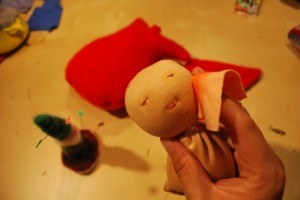
For the mouth you will again anchor a stitch at the back. Come through the head and out about 1/4 of an inch to one side of the dot, take a stitch 1/4″ to the other side of the dot. Go through the head and anchor at the back. Cut thread. You can ‘blush’ the doll by rubbing a piece of cloth with a red crayon (Stockmar Beeswax crayons work best) and then rubbing the cloth on to the cheek. Very gently and in circular motions.
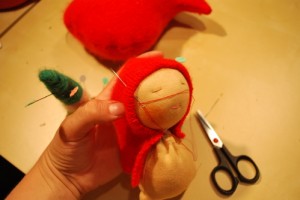
Hat. Turn under about a 1/2″ seam and position hat on head. Pin in place. Starting on one side near the neck anchor the hat on to the head. Stitch the hat on to the head. I use a whipstitch – but you can go fancy and use a blanket stitch. Whatever really. Finish on the other side by anchoring again.
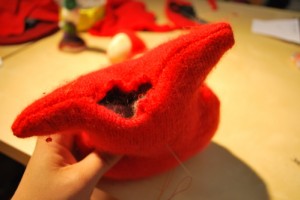
Body. Fluff some wool and stuff into the body. Make sure to stuff in to the arms and ‘hands’. This is meant to be a squishy doll – so you can go relatively easy on the stuffing but always put in a little more then you think you should – wool compacts over time.
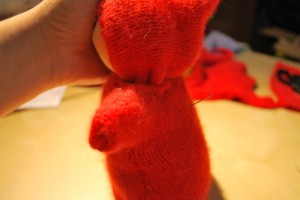
Thread your short needle with about an arm lengths worth of thread. Using a double thread, turn over a 1/4″ seam around the neck opening. Anchor a stitch. Make a running stitch around the opening of the neck. Leave lots of thread on your needle and pin to the side. Slip your head into the body. Position it so it’s all even and facing forward. Pull thread tightly around neck. Stitch in place. Go around at least 4 times to make sure it’s all secure and safe. Yeah you!
Almost done.
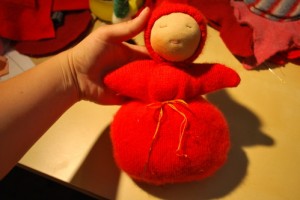
Then take a long piece of the contrasting embroidery floss and go in through marking A on the pattern. Come out at marking B and in through C. Under through the doll body to D and out through E. I’m not going to keep going because I think you get it by now.
Tie the floss together. Turn the doll upside down and make a bow (always comes out the right way up if you turn the doll upside down). Double knot the bow.
Good Job! I would love to see pics of what you’ve made – pretty please?
This is the first time I’ve ever written out instructions to something. I’ve tried to be clear, maybe too clear – maybe not clear enough. Let me know (:
Good luck! You’ll do great!
xo
C
Leave a Reply